Installing under-floor insulation
We recently moved house. Our old home was a modern 2010s-era two-storey duplex, which was extremely livable and had lovely flooring and furnishings. Our new home is a 1970s build, which has a lot of character but also, as I’ve come to learn, has a lot of ‘old house’ problems — the most pressing of which, as we head into the Australian winter, is the almost total lack of any insulation.
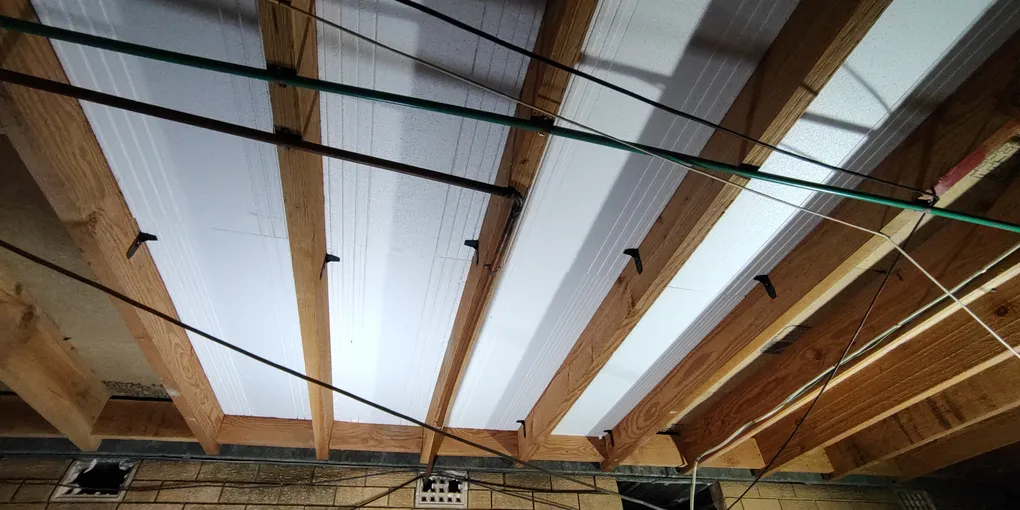
Not only is there no floor insulation, nor insulation in the internal walls; but there’s also no insulation between the external brick veneer and the plasterboard on external walls. Further to this, our main living space has quite a lot of windows (thin single glazed, of course) and the whole house is generally pretty leaky. The ducted air conditioning helps do a lot of heavy lifting with heating and cooling, but without insulation it’s always going to be working harder than it needs to.
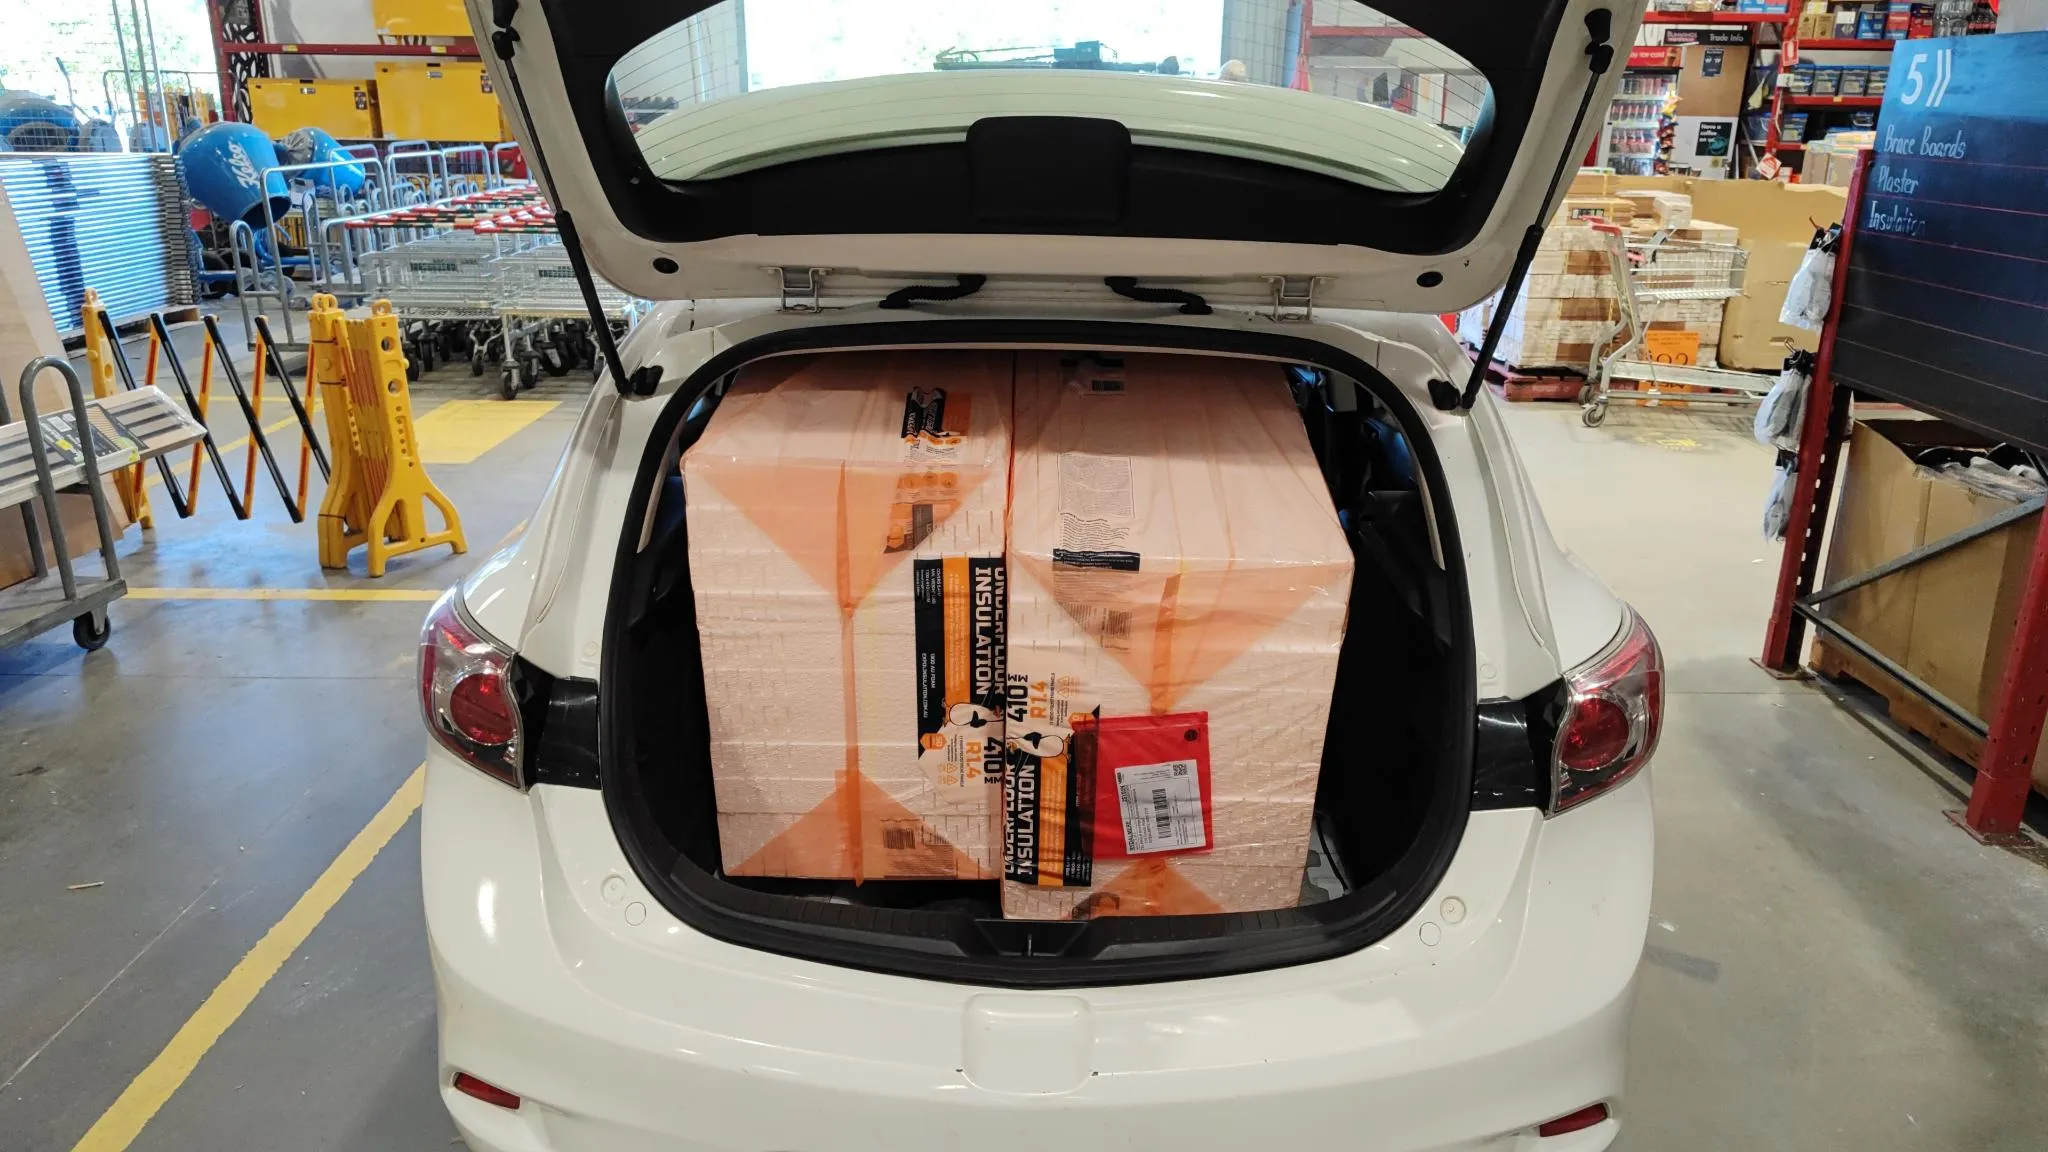
I’d desperately love to install insulation in the walls, but it’s just not practical without extensive building work. That leaves insulating the floors as the most practical thing, and so I was quite pleased to come across these expanded polystyrene panels for a pretty reasonable price. Measuring out the most accessible section of flooring told me I’d need four packs to get 90% coverage; I managed to force two packs into the car so I started with that.
Once the packs were home, it was pretty straight-forward to get them unpacked and set up in the installation area. The recent rain in Sydney combined with the current cold weather made for a lot of condensation inside the packs, so I let them air dry for a bit while I planned the install. Access to the joist gaps was generally good, but there were a few spots with plumbing or electrical wiring. To simplify things for myself while I learned to install them, I picked a joist span part way into the room and pressed the first couple of batts into place.
At first I tried to just slide the batts into place, but I found that this had way too much friction and wasn’t a great solution. Instead, getting the batt lined up with one long side in final position and then progressively pressing the other long side into place worked out better. This also avoided a lot of issues with exposed screws from the flooring timbers, which would otherwise have torn out large chunks of polystyrene.
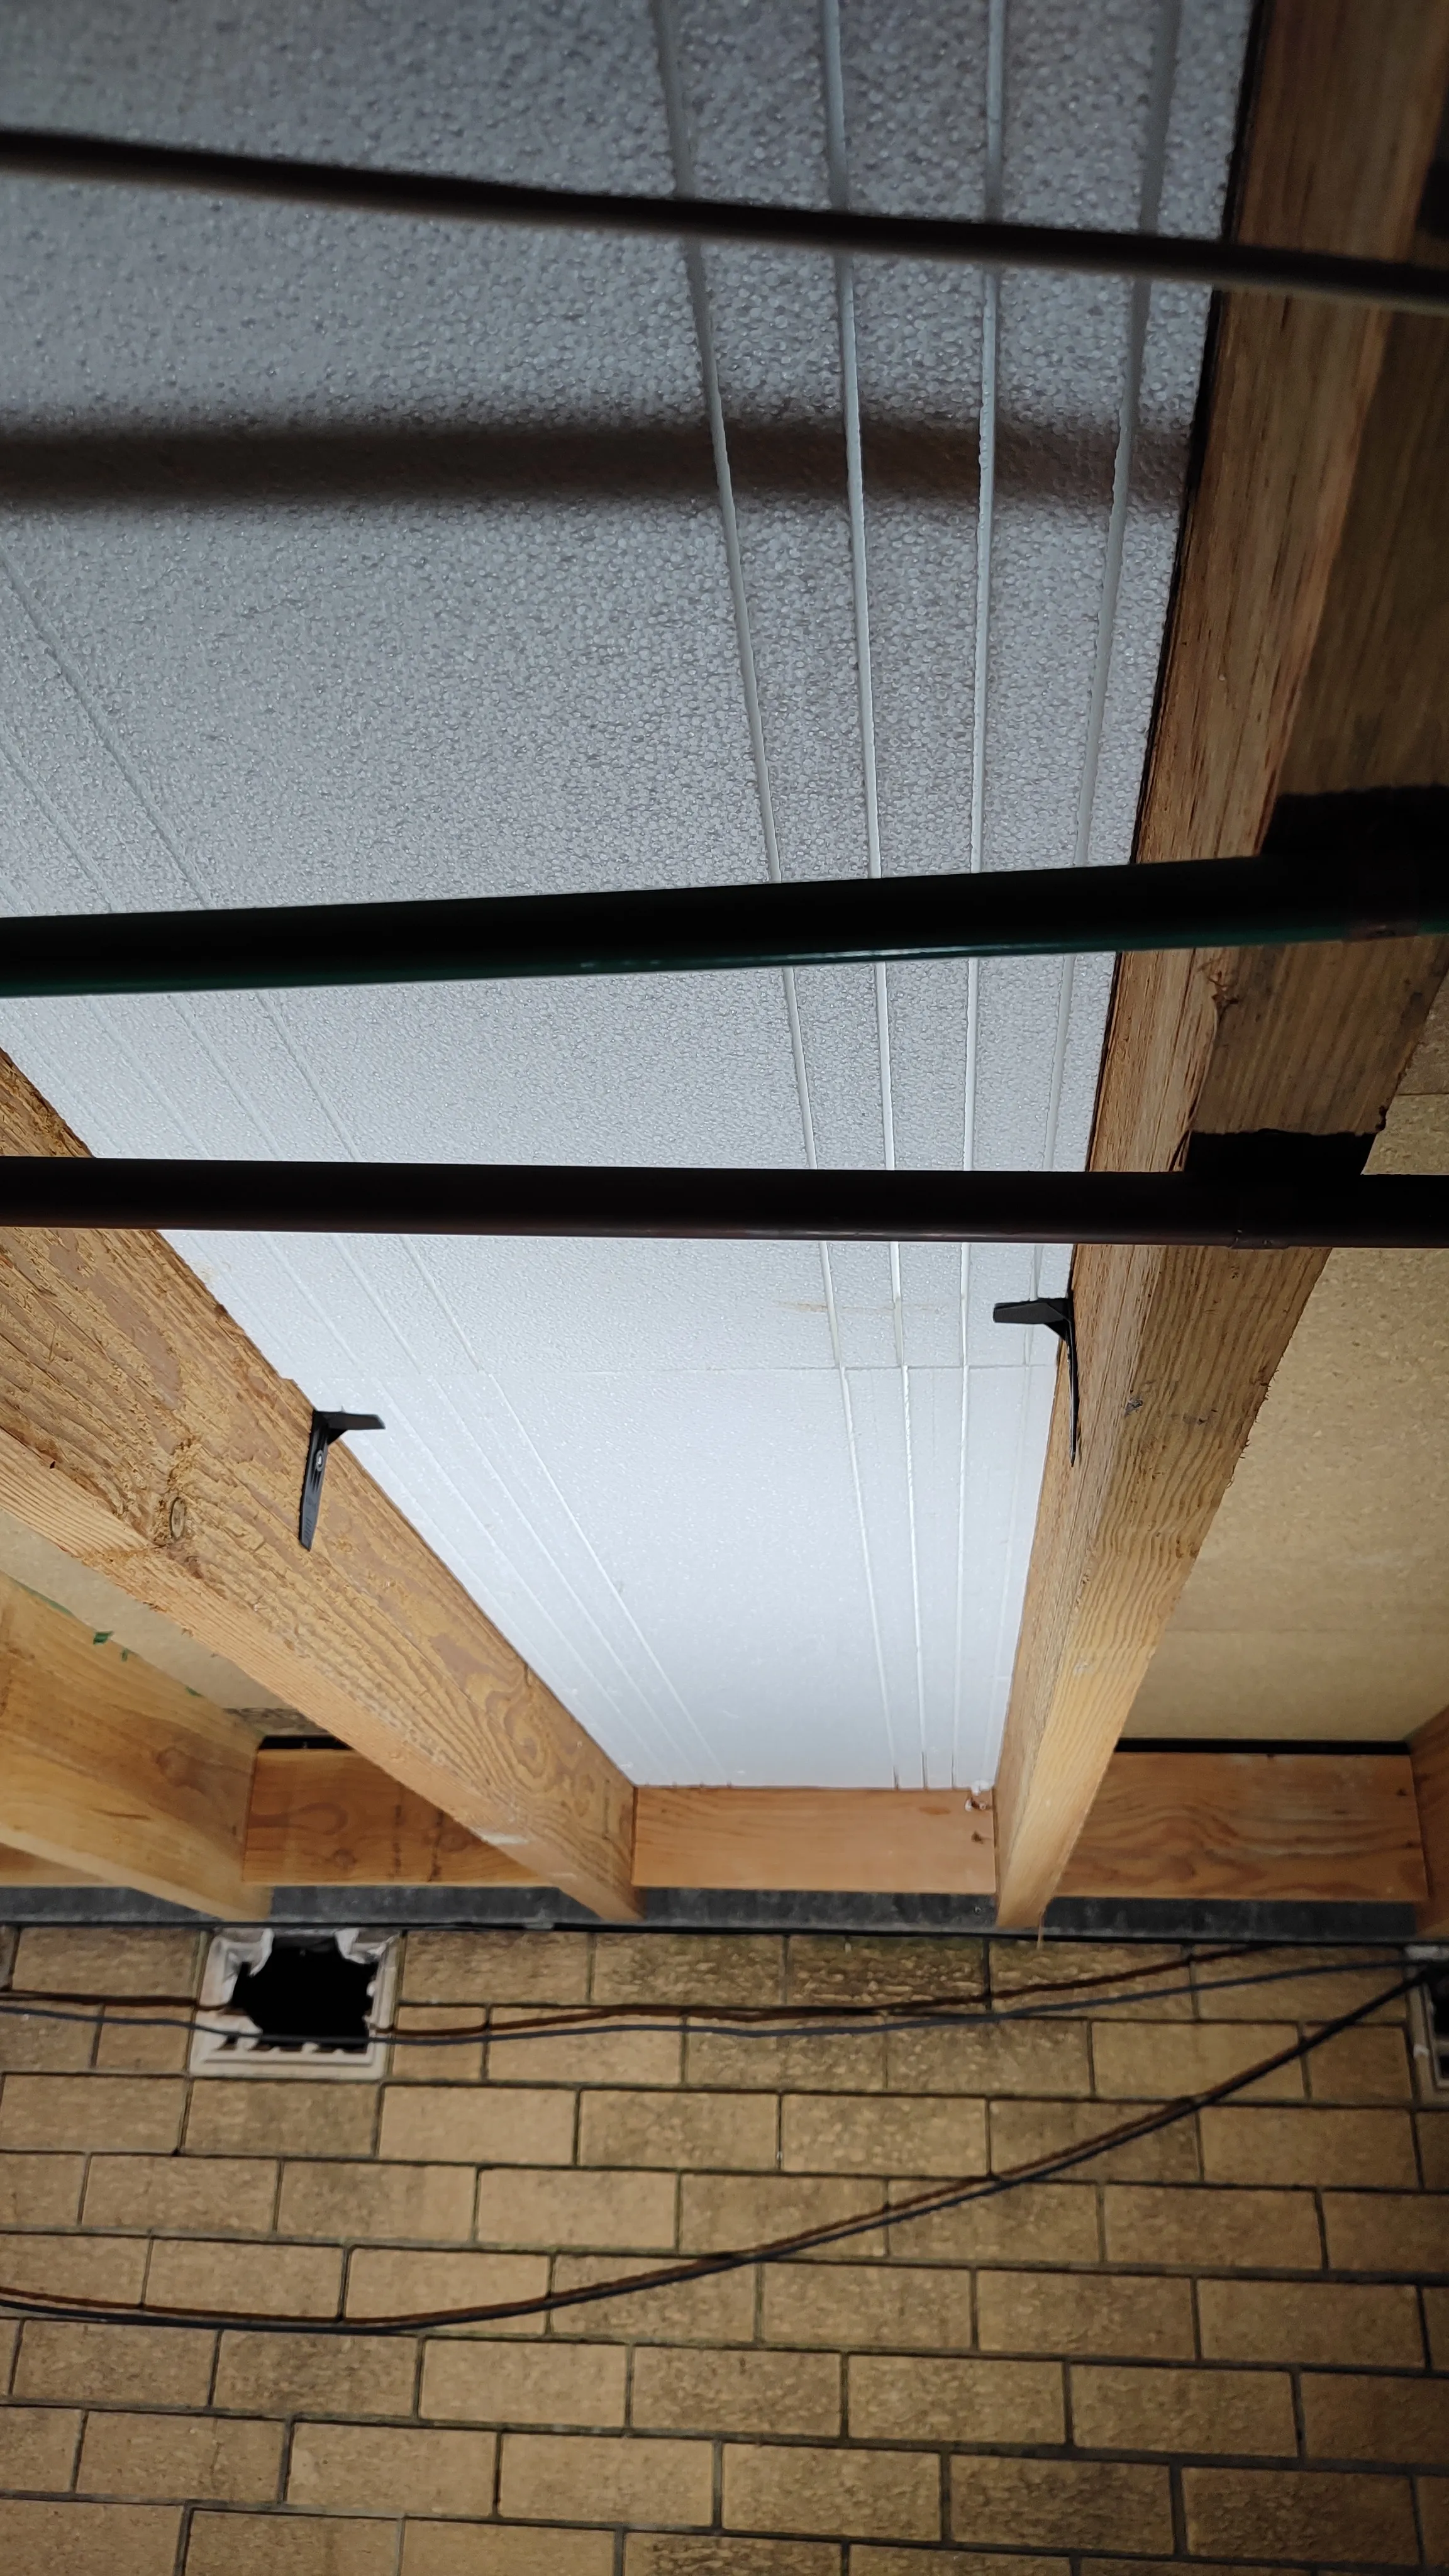
I found using a hammer and a small block of wood to distribute the force worked best in high-friction spots, and evenly pressing the batt with a 1200mm metal pole for low-friction spots. Even though the friction-fit seemed pretty perfect for the batts, I completed the install with two nail-in plastic fixing brackets at diagonal corners.
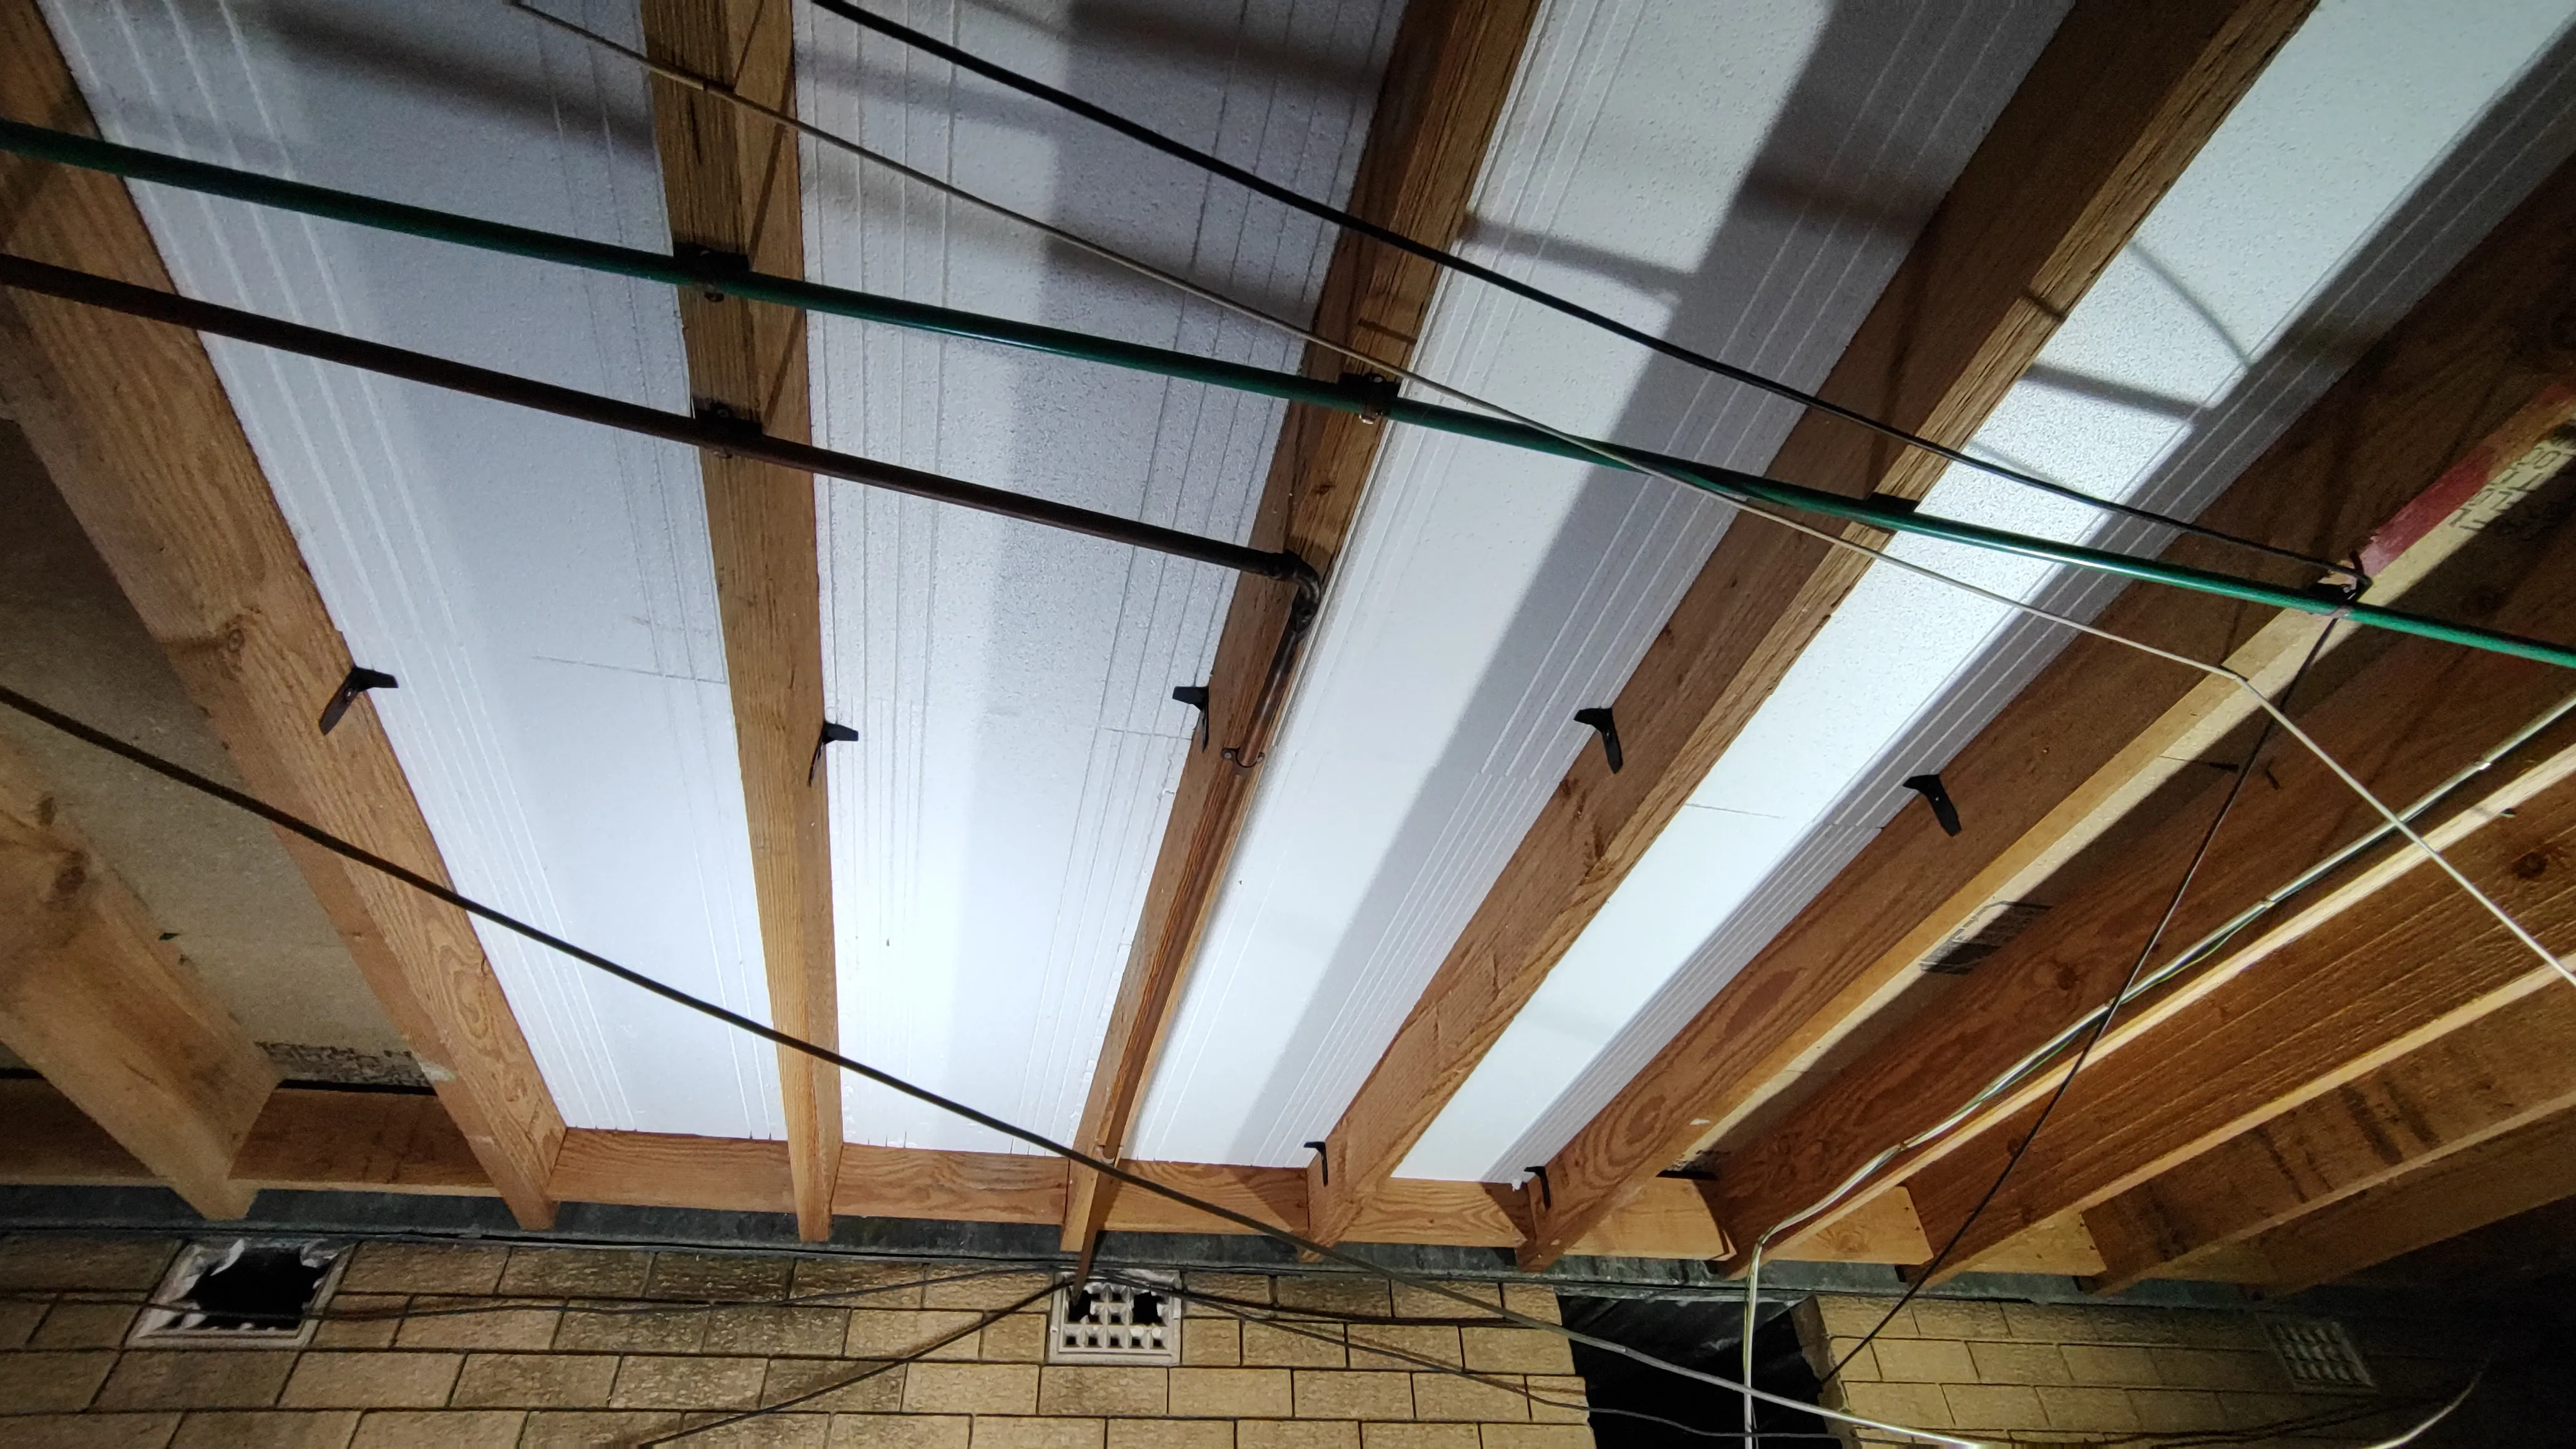
I made my way through 12 batts in just over an hour, which I think was a pretty solid installation rate for me working solo. I’ll aim to finish installing the rest of the purchased batts in the next few days before I reassess what’s left and how many more batts I need to buy. Another consideration I need to be careful of is existing moisture issues and water damage to part of the subfloor, but that will be a problem for another time and another post.